前回
前回でマウスカーソルの位置の色取得はできたので
今度は画像からその色を透明にする
取得した色を左側に表示、画像クリックでその色を透明にする
上下二つの画像はどちらも256x256
ピクセルで上が72dpi、下が96dpi

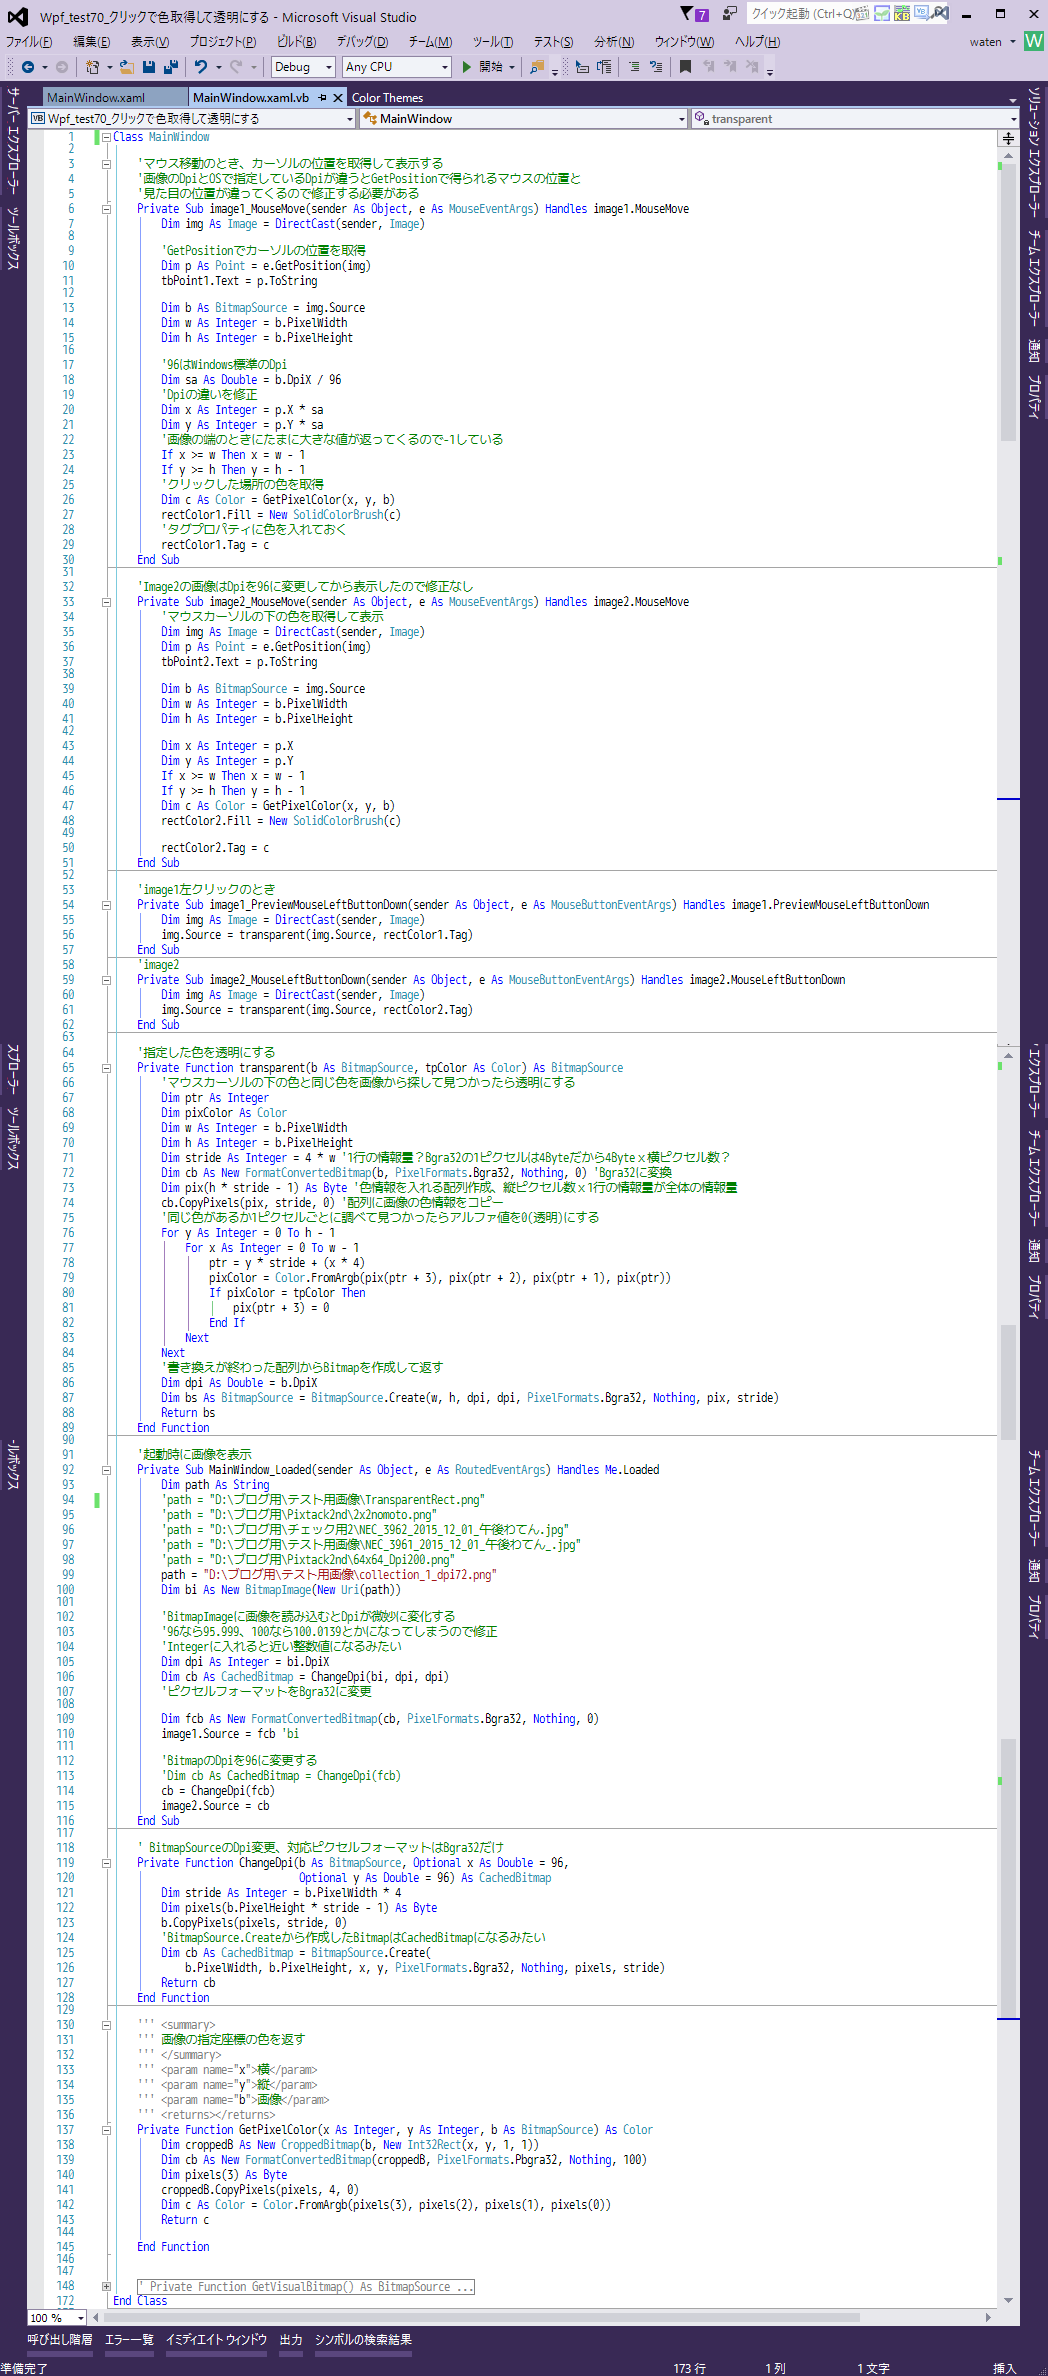
Class MainWindow
Private Sub image1_MouseMove(sender As Object, e As MouseEventArgs) Handles image1.MouseMove
Dim img As Image = DirectCast(sender, Image)
Dim p As Point = e.GetPosition(img)
tbPoint1.Text = p.ToString
Dim b As BitmapSource = img.Source
Dim w As Integer = b.PixelWidth
Dim h As Integer = b.PixelHeight
Dim sa As Double = b.DpiX / 96
Dim x As Integer = p.X * sa
Dim y As Integer = p.Y * sa
If x >= w Then x = w - 1
If y >= h Then y = h - 1
Dim c As Color = GetPixelColor(x, y, b)
rectColor1.Fill = New SolidColorBrush(c)
rectColor1.Tag = c
End Sub
Private Sub image2_MouseMove(sender As Object, e As MouseEventArgs) Handles image2.MouseMove
Dim img As Image = DirectCast(sender, Image)
Dim p As Point = e.GetPosition(img)
tbPoint2.Text = p.ToString
Dim b As BitmapSource = img.Source
Dim w As Integer = b.PixelWidth
Dim h As Integer = b.PixelHeight
Dim x As Integer = p.X
Dim y As Integer = p.Y
If x >= w Then x = w - 1
If y >= h Then y = h - 1
Dim c As Color = GetPixelColor(x, y, b)
rectColor2.Fill = New SolidColorBrush(c)
rectColor2.Tag = c
End Sub
Private Sub image1_PreviewMouseLeftButtonDown(sender As Object, e As MouseButtonEventArgs) Handles image1.PreviewMouseLeftButtonDown
Dim img As Image = DirectCast(sender, Image)
img.Source = transparent(img.Source, rectColor1.Tag)
End Sub
Private Sub image2_MouseLeftButtonDown(sender As Object, e As MouseButtonEventArgs) Handles image2.MouseLeftButtonDown
Dim img As Image = DirectCast(sender, Image)
img.Source = transparent(img.Source, rectColor2.Tag)
End Sub
Private Function transparent(b As BitmapSource, tpColor As Color) As BitmapSource
Dim ptr As Integer
Dim pixColor As Color
Dim w As Integer = b.PixelWidth
Dim h As Integer = b.PixelHeight
Dim stride As Integer = 4 * w
Dim cb As New FormatConvertedBitmap(b, PixelFormats.Bgra32, Nothing, 0)
Dim pix(h * stride - 1) As Byte
cb.CopyPixels(pix, stride, 0)
For y As Integer = 0 To h - 1
For x As Integer = 0 To w - 1
ptr = y * stride + (x * 4)
pixColor = Color.FromArgb(pix(ptr + 3), pix(ptr + 2), pix(ptr + 1), pix(ptr))
If pixColor = tpColor Then
pix(ptr + 3) = 0
End If
Next
Next
Dim dpi As Double = b.DpiX
Dim bs As BitmapSource = BitmapSource.Create(w, h, dpi, dpi, PixelFormats.Bgra32, Nothing, pix, stride)
Return bs
End Function
Private Sub MainWindow_Loaded(sender As Object, e As RoutedEventArgs) Handles Me.Loaded
Dim path As String
path = "D:\ブログ用\テスト用画像\collection_1_dpi72.png"
Dim bi As New BitmapImage(New Uri(path))
Dim dpi As Integer = bi.DpiX
Dim cb As CachedBitmap = ChangeDpi(bi, dpi, dpi)
Dim fcb As New FormatConvertedBitmap(cb, PixelFormats.Bgra32, Nothing, 0)
image1.Source = fcb
cb = ChangeDpi(fcb)
image2.Source = cb
End Sub
Private Function ChangeDpi(b As BitmapSource, Optional x As Double = 96,
Optional y As Double = 96) As CachedBitmap
Dim stride As Integer = b.PixelWidth * 4
Dim pixels(b.PixelHeight * stride - 1) As Byte
b.CopyPixels(pixels, stride, 0)
Dim cb As CachedBitmap = BitmapSource.Create(
b.PixelWidth, b.PixelHeight, x, y, PixelFormats.Bgra32, Nothing, pixels, stride)
Return cb
End Function
Private Function GetPixelColor(x As Integer, y As Integer, b As BitmapSource) As Color
Dim croppedB As New CroppedBitmap(b, New Int32Rect(x, y, 1, 1))
Dim cb As New FormatConvertedBitmap(croppedB, PixelFormats.Pbgra32, Nothing, 100)
Dim pixels(3) As Byte
croppedB.CopyPixels(pixels, 4, 0)
Dim c As Color = Color.FromArgb(pixels(3), pixels(2), pixels(1), pixels(0))
Return c
End Function
End Class
前回の続きからなのでDpi関係とマウスカーソルの位置の色取得も入っている
前回でも使っていた
BitmapResourceのCopyPixels
これでコピーした色情報を1
ピクセルごとに同じ色か判定して
透明に塗り替えていくだけ
画像のBitmapSourceと透明にしたい色を渡すと塗り替えたBitmapSourceを返す
Bgra32の
赤色(ARGB=255,255,0,0)
A:透明度
R:赤
G:緑
B:青
赤色(ARGB=255,255,0,0)の1
ピクセルの画像でBgra32のときCopyPixelsを使って色情報をbyte配列にすると
0,0,255,255と逆順になった配列が返ってくる
このCopyPixelsは
Windowsフォームアプリの時に使っていた
System.Runtime.InteropServices.Marshal.Copy
これによく似ている
今回は順番は関係ないけど配列に入るピクセルの順番は左上から右の順番になる
1ピクセルごとに指定した色と同じかどうかを判定して同じだったらAを0に書き換えれば透明になる
配列の中の場所指定
なので4の倍数にそれぞれ+0,+1,+2,+3
これで指定できる
pixが色情報の配列
ptrが各
ピクセルの先頭Bの場所で
y*Strideで今の行、これにx*4(4の倍数)を足したもの
ptrにそれぞれ0,1,2,3を足したのが1
ピクセルのBGRAそれぞれの情報になる
Color.FromArgbで色を作って
tpColorは透明にしたい色
これと比べて同じならA(基準+3)=0
書き換えが終わったら配列からBitmapSource画像作成
BitmapSource.Createで作成されるのはBitmapSourceじゃなくて
CachedBitmapってなっている、よくわからん
次期Pixtack紫陽花にも付けてみた
色の取得は半透明の色が重なった色で取得されるけど
透明にするのは選択画像にその色があればって条件なので
重なってできた色がその画像に無ければ透明にならない
黄色の画像のところがそれ
画像の加工ができるようになるとアンドゥ・リドゥの機能が欲しくなるけど
ちょっと調べた限りではかなり難しそう、正確にはムリそう
Pixtack2nd_20160305.zipのダウンロード
ヤフーボックス


